Methods to Improve Distortion Issues in Vinyl Record Players: A Comprehensive Guide and Practical Tips
Vinyl record players are beloved by music lovers for their warm, natural tone and unique texture. However, even high-end models are not immune to sound distortion during use. Distortion not only affects the music experience but can also mask the subtle details of the record itself, causing listeners to miss the emotions conveyed between notes.
This article will systematically explain the causes of distortion, improvement methods, practical debugging techniques, daily maintenance, and equipment selection, and combine some real-world experience to help you maximize the sound quality performance of your vinyl record player.
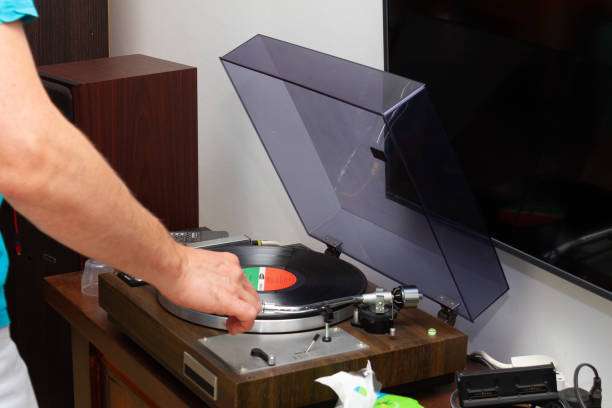
Common causes of distortion in vinyl record players
Distortion in vinyl record players can generally be attributed to the following factors:
1. Stylus and tonearm issues
Wear or damage to the stylus can cause inaccurate gripping of the record’s groove.
Improper tonearm angle or pressure can cause track misalignment or abnormal friction.
2. The state of the record itself
scratches, dust, or static electricity buildup on the record surface
The sound quality deteriorates due to the aging of the vinyl material.
3. Turntable and motor issues
The turntable speed is unstable (33 1/3 or 45 RPM).
Motor noise is transmitted to the tonearm
4. Amplifier and speaker system
Excessive amplifier gain in the signal chain leads to distortion.
Improper speaker or wiring matching, unbalanced frequency response
5. Environmental factors
An uneven support surface causes vibration
External electromagnetic interference or environmental noise
A friend of mine recently bought a classic vinyl record player and found the high frequencies slightly harsh upon first use. After checking, he discovered that the stylus pressure was too high. After adjusting the pressure, the sound quality became noticeably smoother, and the details became clearer.
to improve distortion in vinyl record player
1. Inspect and replace the stylus.
- Regularly check the stylus for wear and deformation.
- It is recommended to replace it every 500–800 hours of use to ensure grasping accuracy.
- Use original or high-quality styluses to avoid distortion caused by poor compatibility.
2. Adjust tonearm pressure and balance
- Adjust tonearm pressure using a specialized gauge or electronic measuring tool.
- Ensure the record is placed horizontally to reduce abnormal friction between the stylus and the record.
- Pay attention to the precision of the reverse lever arm and the vertical angle.
3. Cleaning records and preventing static electricity
- Use a professional black vinyl cleaning brush or cleaning solution.
- Regular dust removal is necessary to prevent slight distortion caused by dust.
- Use anti-static sleeves or anti-static brushes to reduce electrostatic noise.
4. Turntable and Drive System Optimization
- To ensure the turntable operates at a stable speed, an external speed controller can be considered.
- To prevent motor vibration from being transmitted to the tonearm, vibration damping pads can be added.
- Regularly check the belt tension of the belt drive system.

5. Amplifier and speaker system matching
- Ensure impedance matching of the preamp, power amplifier, and speakers.
- Avoid excessive gain that could cause distortion.
- Adjust speaker placement to reduce room standing wave effects.
6. External Environment Optimization
- Choose a stable and sturdy record table.
- Avoid being near high-powered electrical appliances or wireless devices.
- Use vibration-damping pads or vibration-reducing platforms.
I used the vinyl record player at home, and I found that the high frequencies were slightly harsh when the speakers were placed directly on a wooden bookshelf. After moving them to a sturdy record table and adding vibration-damping feet, the sound quality became noticeably cleaner, and the low frequencies became fuller.
Vinyl Record Player Daily Maintenance Tips
- Regularly check the stylus: wear or dust can cause distortion.
- Cleaning records: Before each playback, gently brush the surface of the record with an anti-static brush.
- Adjust tonearm balance and pressure: Ensure the stylus grips the record precisely.
- Keep the equipment stable: avoid external vibrations and desktop resonance.
- Controlling signal chain gain: Avoiding over-amplification that leads to audio distortion.
Upgrade and auxiliary equipment recommendations
- High-quality stylus: Made with a diamond or high-grade stylus, it enhances detail resolution.
- External phono stage: Reduces the limitations of the built-in phono stage on sound quality.
- Vibration damping platform: Isolates environmental vibrations and improves low-frequency muddiness.
- Antistatic dust collector: Reduces static noise and dust interference
Frequently Asked Questions (FAQ)
Q1: What can I do if the high frequencies on my vinyl record player are harsh?
This could be due to improper stylus pressure or wear. I suggest adjusting the tonearm pressure and checking the condition of the stylus.
Q2. Is the low-frequency blurriness a problem with the equipment or the record?
It could be due to speaker placement or insufficient damping, or it could be caused by aging or dust accumulation on the record material.
Q3: How to extend the life of a vinyl record player:
Regularly clean records, check the stylus, keep the platter speed steady, and avoid vibration and dust.
Q4 Are all vinyl record players suitable for external device optimization?
Most can, but impedance matching and interface compatibility must be ensured.
Q5: Is it possible to completely eliminate distortion?
While it’s impossible to eliminate it completely, distortion can be significantly reduced through stylus maintenance, tonearm adjustment, platter stabilization, and environmental optimization.
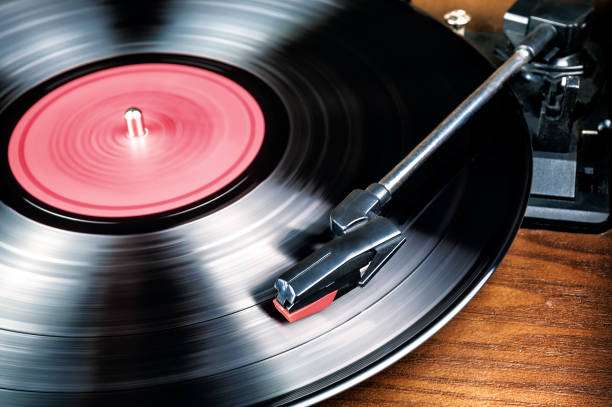
Conclusion:
A vinyl record player lies in its delicate and warm tone, but to achieve its best performance, avoiding distortion is key. Through stylus checks, tonearm adjustments, record cleaning, platter optimization, and environmental improvements, you can ensure the purest sound quality for every playback.
Take action now: check your vinyl record player, clean your records, adjust your tonearm, and ensure every vinyl record delivers the best possible sound quality.
Related Posts

The Real Impact of Static Electricity on Sound Quality in Vinyl Record Players
-
Posted by
 Carter Eleanor

Vinyl Record Players on Record Collecting: How to Choose and Maintain Records
-
Posted by
Carter Eleanor

