Vinyl Record Player First-Time Installation Tutorial—Complete Guide

Vinyl record players are not only a favorite among music lovers but also a unique highlight of home décor. With the resurgence of vinyl records, more and more people desire to experience that warm, rich musical texture. When using a vinyl record player for the first time, proper placement and wiring not only ensure sound quality but also extend the device’s lifespan.
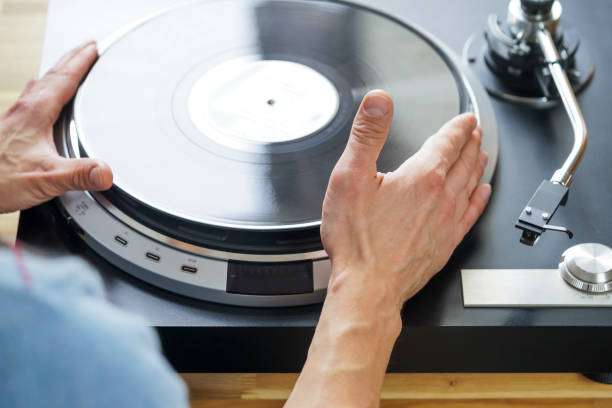
Placement principles: stability, shock absorption, and air circulation.
Choose a suitable support surface
Vinyl record players are very sensitive to vibration. It is recommended to place them on a stable desktop, speaker stand, or dedicated stand and avoid placing them on furniture that is prone to wobbling or unevenness. Even slight vibrations can cause the tone pin to jump or affect the sound quality.
Avoid vibration sources
Keep away from sources of vibration in your home, such as washing machines, refrigerators, or air conditioner vents. Even if you have the most advanced high-end player, environmental vibrations can affect your vinyl playback experience. If placement is unavoidable, you can add shock-absorbing pads or rubber mats under the player to improve stability.
Keep the air circulating
A vinyl record player may get slightly warm during prolonged use. Maintaining good airflow around the device helps extend the life of the motor and electronic components and reduces dust buildup.
Familiar with the main components of a vinyl record player
Before you begin wiring, familiarize yourself with the following key components:
Tonearm: Responsible for supporting the stylus and controlling its movement trajectory.
Stylus/Cartridge: The part that contacts the record and converts physical signals into audio signals.
Turntable: A rotating disc on which records are placed.
Motor type: divided into belt drive and direct drive, which affects the smoothness and noise of the turntable.
RCA output and ground wire: Used to connect to power amplifiers or speakers to avoid noise.
Power interface: Ensure correct voltage to prevent equipment damage.
Familiarity with these components can make initial installation smoother and facilitate future maintenance.
Power and audio wiring steps
Power connection
Confirm that the voltage of the vinyl record player is consistent with the local power grid (e.g., 110V or 220V).
Plug the power cord into the player’s power port, and then plug it into the wall socket.
For first-time use, do not turn on the machine for too long to check if the turntable rotates smoothly.
Audio output connection
Most vinyl record players output audio via an RCA connector when connected to an amplifier or powered speakers:
Insert the red connector into the right channel (R) and the white connector into the left channel (L).
If the player has a ground wire (GND), be sure to connect it to the ground screw on the amplifier or speaker to avoid harsh hissing or noise.
Tip: When connecting for the first time, it is recommended to turn the volume down to avoid sudden noise that may damage the speaker or your ears.

Record placement and playback start
Place records
Open the tonearm protection lever.
Gently place the vinyl record on the turntable, ensuring the center hole aligns with the spindle.
Before playing, please clean the dust off the record surface. You can use an anti-static brush to gently brush it.
Start playback
Turn on the power and select the speed according to the type of record.
Raise the tonearm and align it with the beginning of the record.
Lower the stylus slowly to avoid damaging it or the record surface by pressing down too quickly.
Tip: Beginners are advised to play slow records first to familiarize themselves with tonearm operation before attempting more complex operations.
tonearm adjustment and stylus pressure
Adjusting tonearm balance
Tonearm pressure directly affects sound quality and record lifespan:
First, balance the tonearm so that the stylus is suspended horizontally in the air.
Adjust the weights to the pressure recommended by the stylus manufacturer (usually 1.5–2.5 grams).
Too light a pressure will cause skipped stitches, while too heavy a pressure will accelerate wear and tear.
Stylus angle and anti-slip
Some high-end players offer adjustable stylus angle (azimuth) and anti-slip force:
Make sure the stylus is perpendicular to the groove of the record.
If skipping or distortion is detected, the angle can be fine-tuned to improve the sound quality.
Vinyl Record Player Routine Maintenance
Stylus cleaning
After playing, you can use a special brush to gently brush the stylus to remove dust.
Check for wear and tear periodically, and replace the stylus if necessary.
Record maintenance
After playing, promptly retract the inner sleeve to prevent dust from adhering.
Avoid touching the grooves of the record with your fingers; you may wear gloves when handling it.
Dustproof and shockproof
If not used for an extended period, cover it with a dust cover.
Avoid vibration and direct sunlight when placing the equipment to extend its lifespan.
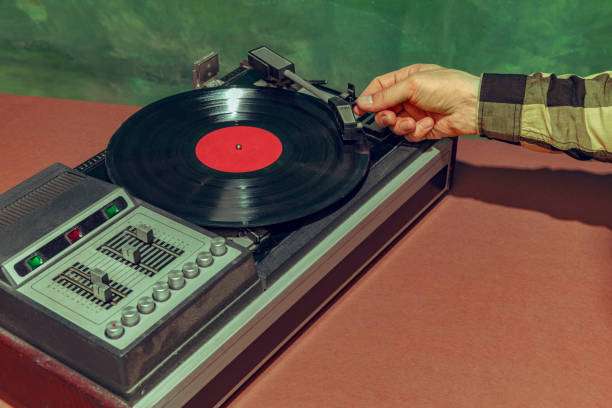
Common problems and solutions
| question | Possible reasons | Solution |
| There is a static or buzzing sound during playback. | Grounding wire not connected or RCA connector loose | Reconnect the grounding wire and confirm that the RCA connector is secure. |
| Stylus skipping | Too little tonearm pressure or uneven record | Adjust tonearm pressure and check platter level. |
| Volume too low or distortion | Amplifier settings or speaker issues | Check the speaker power and volume settings, and confirm that the RCA connection is correct. |
| The turntable rotates unstably | Belt looseness or motor problem | Check belt tension or contact the manufacturer for maintenance. |
Summarize:
Installing a vinyl record player for the first time, ensuring stable placement, correct wiring, and proper tonearm pressure adjustment are crucial for guaranteeing sound quality and extending the device’s lifespan. By following the steps in this article, you can safely and smoothly complete the initial installation of your vinyl record player and begin enjoying the unique warm tone of vinyl records.
Tip: As you gain more experience, you can try adjusting the tonearm weight, upgrading the stylus, choosing a high-quality speaker, or adding a shock-absorbing stand to take your vinyl playback experience to the next level.
If you choose a suitable vinyl record player and install it correctly, you will embark on a truly immersive musical journey.

