
A vinyl record player is more than just an audio device; it’s a vessel for many people’s emotions, carrying the essence of classic music and culture. For those new to vinyl record players, proper use is key to achieving optimal sound quality and extending the device’s lifespan. This article will guide you through the proper setup, operation, and maintenance of your vinyl record player, helping you enjoy the purest music experience at home.
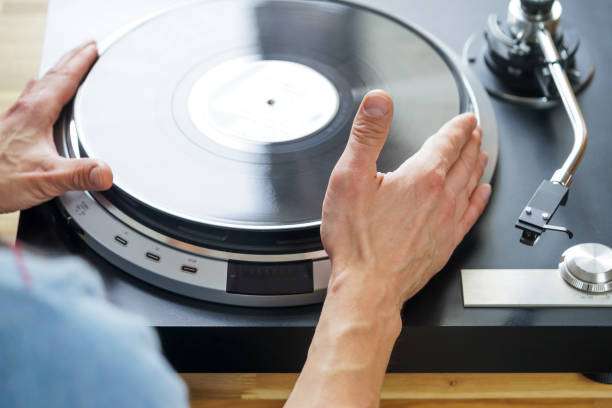
Setting up and installing a vinyl record player
Choose a suitable placement location
First, choose a stable surface to place your vinyl record player. Avoid placing the player in areas prone to vibration, such as near speakers or other electrical equipment. Vibration can not only affect sound quality but may also cause the stylus to skip or damage the device. Ideally, the location should be away from vibration sources to maintain the stability of the device.
Vinyl record player with stylus installed
The stylus is the core component of a vinyl record player; it converts the grooves on the record into electrical signals. When installing the stylus, always follow the instructions in the manual to ensure the stylus and tonearm are accurately aligned. Improper installation may degrade sound quality or even damage the record. The installation method varies depending on the stylus and tonearm model, so always refer to the specific brand’s user manual.
Vinyl record player—adjust tonearm weight
The weight of the tonearm directly affects the pressure between the stylus and the record. Excessive pressure can damage the record, while insufficient pressure can cause the stylus to skip or become inaccurate. Generally, the stylus pressure should be set between 2 and 3 grams; specific values can be determined by referring to the recommendations for the record type and brand. Use the included balancing tool to adjust the tonearm’s weight and pressure to suit your player and records.
How to use Vinyl Record Player correctly
Vinyl Record Player (open player)
Before playing, ensure the record is properly placed and the tonearm is in the correct position. If you are using a fully automatic player, you will usually only need to press the start button, and the device will automatically start the platter and position the stylus. If you are using a manual or semi-automatic player, you will need to manually place the stylus at the beginning of the record before starting the platter.
Precautions during playback
Avoid touching the stylus: When playing, try to avoid touching the stylus or tonearm with your hands, as the oil or dust on your fingers may affect the sound quality or even damage the stylus.
Controlling the volume: Due to the characteristics of vinyl records, excessively high volume may cause the stylus to resonate, thus affecting sound quality. Maintaining a moderate volume will ensure clear and delicate sound quality.
Stop playing
After playback is complete, ensure the stylus is safely removed from the record. For fully automatic players, this process is usually automatic; for manual or semi-automatic players, you will need to gently lift the stylus and return the tonearm to its original position.
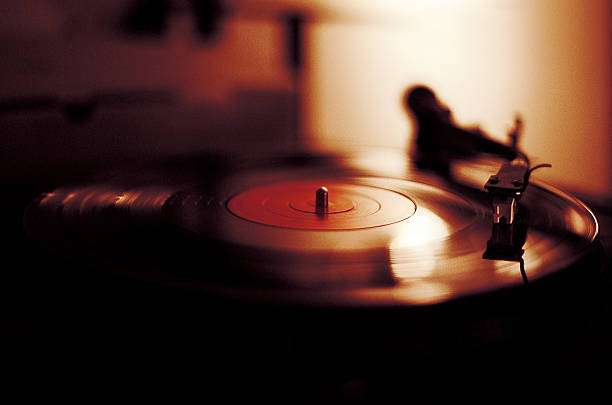
How to replace and maintain a stylus
The stylus is the most easily worn part of a vinyl record player. Regular stylus maintenance not only helps maintain sound quality but also extends the lifespan of the device.
When to change the stylus
A stylus typically lasts between 500 and 1000 hours, depending on the frequency of use and the stylus material. When you notice a decline in sound quality or stylus skipping, it’s time to replace the stylus. Different styluses may have different lifespans, so it’s important to know the specifications of your stylus and the recommended replacement interval.
Steps for changing a stylus
Removing an old stylus: Most styluses can be removed by pressing the retain button or gently turning them. The specific steps may vary slightly depending on the brand and model.
Install a new stylus: Install the new stylus correctly according to the instructions, ensuring that it is aligned with the tonearm and securely fastened.
Cleaning the vinyl record player stylus
Cleaning the stylus is key to maintaining sound quality. Dust, grease, and other impurities can degrade sound quality. Use a dedicated stylus cleaning brush to gently clean the stylus before each playback. If the stylus is visibly contaminated, use a professional cleaning solution for a deeper clean.
How to maintain vinyl records
Proper care of vinyl records is equally important. Correct care can effectively extend the lifespan of records while maintaining optimal sound quality.
Cleaning vinyl records
Before each playback, use a dedicated record cleaning brush to remove dust from the record surface. The brush should have soft bristles to avoid scratching the record. If there are stubborn stains on the record surface, you can use a dedicated record cleaning solution to clean it.
Storing vinyl records
Vinyl records should be stored in a dry, temperature-controlled place, avoiding direct sunlight and moisture. Place records upright on a shelf, avoiding excessive stacking to prevent warping. Using a dust cover can effectively prevent dust and contaminants from entering the record’s grooves.
Avoid scratches and damage
When using vinyl records, avoid touching the playback surface directly with your hands. Handle the record from the edge to prevent grease or dirt from contaminating it. Even minor scratches can affect sound quality, so try to avoid impacts or scratches.
Common problems and solutions
skipped needle problem
Skipping can be caused by improper stylus pressure settings, a dirty stylus, or an uneven record surface. First, check the stylus pressure setting and ensure it is within the recommended range. If the stylus is dirty, clean it and check that the record surface is clean.
Sound quality distortion
Sound distortion can be caused by a dirty stylus, improper stylus pressure, or an unbalanced tonearm. Check the condition of the stylus and tonearm, and ensure the record surface is clean. Additionally, adjusting the stylus pressure and performing necessary cleaning can restore sound clarity.
Equipment noise
Noise problems are usually related to the condition of the record itself or the playback environment. Ensure the record is undamaged, and clean the record and stylus. If the noise persists, check the position of the player and speakers to avoid vibration or interference.
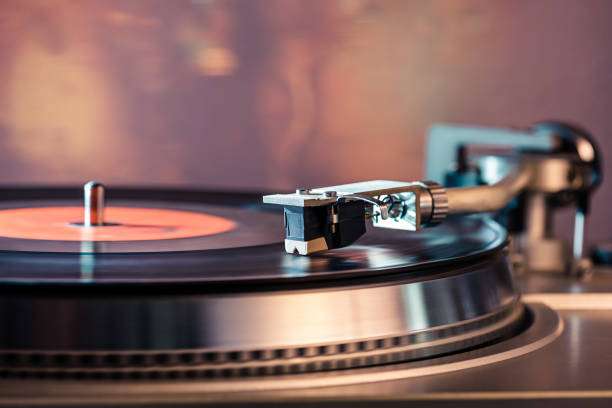
Summarize
your vinyl record player correctly, you can not only enjoy the ultimate sound quality experience but also ensure the longevity of your device. Setting up the player, maintaining the stylus and records, and avoiding common problems—these details directly affect sound quality and the health of your device. Mastering these basic techniques will allow you to maximize your enjoyment of vinyl music. While enjoying high-quality music, you can also extend the lifespan of your device, bringing lasting auditory pleasure.
Now that you know how to properly use and maintain your vinyl record player, are you ready to enjoy a pure vinyl music experience? Click the link below to explore our selection of high-quality vinyl record players and bring a richer musical experience to yourself and your family!

